Versioning Data in MLOps with DVC (Data Version Control)
1. Introduction
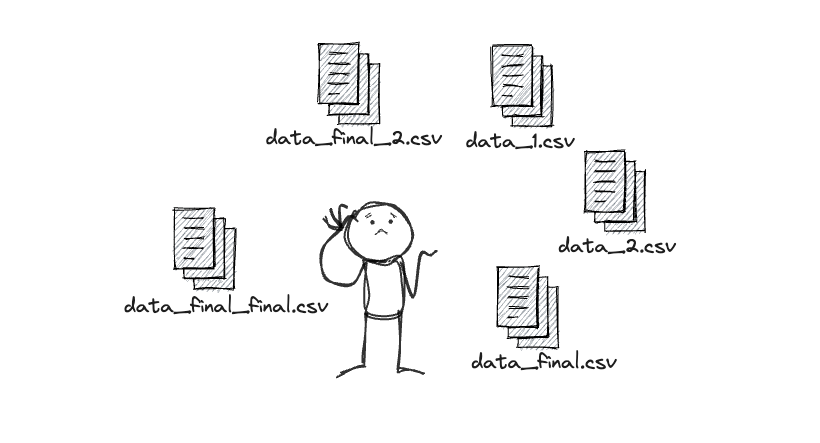
Have you ever worked on a machine learning project and found yourself drowning in data files? Maybe you've accidentally overwritten important data, or you can't remember which dataset version gave you the best results.
Enter DVC, or Data Version Control. It's a tool that helps manage and version your data, much like how Git manages your code.
2. Understanding Data Versioning in MLOps
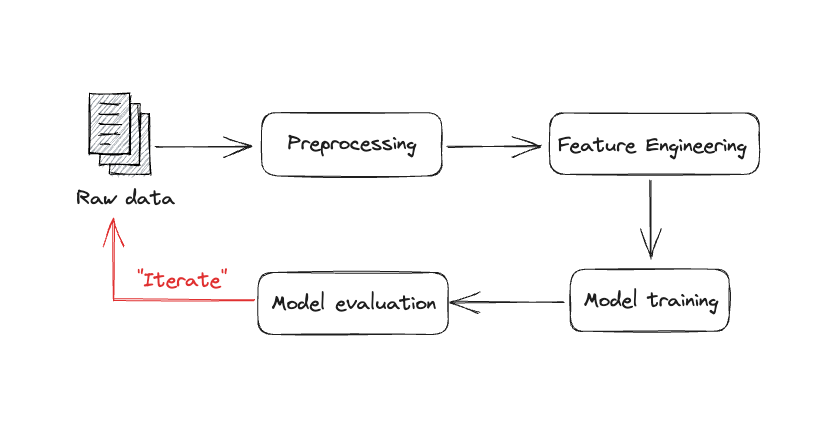
Data versioning is about tracking changes in datasets over time. It's essential in machine learning operations (MLOps) for:
- Reproducing results
- Facilitating collaboration
- Tracking data lineage
3. Introduction to DVC
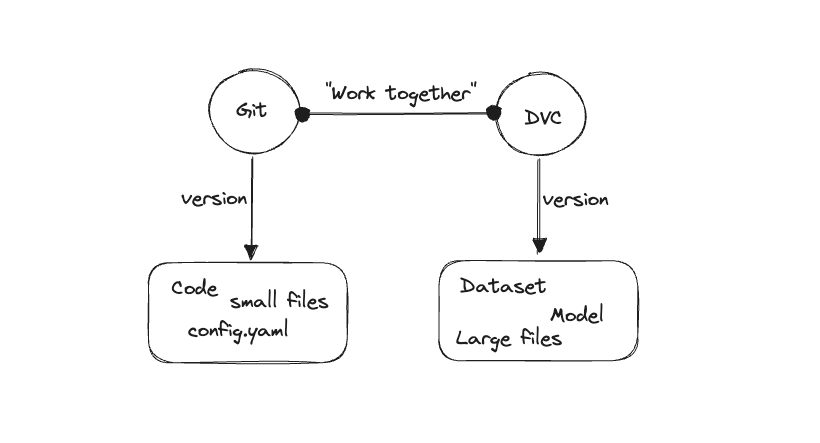
DVC is an open-source tool that works alongside Git to handle large files, datasets, and machine learning models. Key features:
- Tracks changes in data without storing the data itself in Git
- Works with existing Git workflows
- Connects with cloud storage for large files
 Click to zoom
4. Setting up DVC
Let's set up a project with DVC:
- Create a new directory and initialize Git:
1mkdir my_ml_project
2cd my_ml_project
3git init
- Install DVC:
1pip install dvc==3.55.2
- Initialize DVC:
1dvc init
2git commit -m "Initialize DVC"
Your project structure now looks like this:
📦my_ml_project
 ┣ 📂.dvc
 ┃ ┣ 📂tmp
 ┃ ┃ ┗ 📜btime
 ┃ ┣ 📜.gitignore
 ┃ ┗ 📜config
 ┣ 📂.git
 ┗ 📜.dvcignore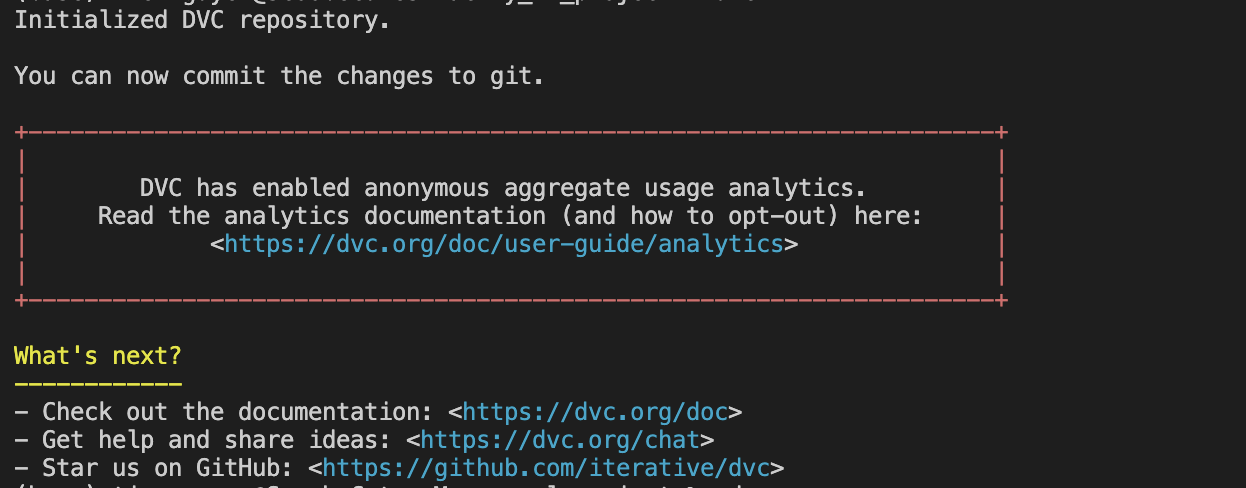
5. Basic DVC Workflow
Let's walk through a basic DVC workflow using an image classification project as an example.
-
Set up your project structure:
my_ml_project/
├── data/
│   └── images/
├── model.py
├── train.py
└── .gitignore
This structure keeps your project organized. The
datadirectory will store your datasets, while separate Python files will handle model definition and training. -
Add your dataset to DVC:
1dvc add data/imagesThis command tells DVC to start tracking the
imagesdirectory. DVC creates a small metadata file (data/images.dvc) that Git will version, while the actual image data is stored separately. This approach allows you to version your data without bloating your Git repository. Thedata/images.dvcfile will look something like this:1 outs: 2 - md5: d41d8cd98f00b204e9800998ecf8427e # Unique identifier for the current state of the data 3 size: 0 # Total size of the tracked data 4 path: images # Location of the data relative to this .dvc file -
Commit changes to Git:
1git add data/images.dvc .gitignore
2git commit -m "Add image dataset"
By committing the DVC metadata file, you're essentially versioning a pointer to your data. This allows you to track which version of the data was used at this point in your project's history.
-
Create a simple training script (
train.py):1import numpy as np 2from sklearn.model_selection import train_test_split 3from sklearn.ensemble import RandomForestClassifier 4from sklearn.metrics import accuracy_score 5import joblib 6import json 7def load_image_data(path): 8 # Simulating image data loading 9 # In a real scenario, you'd load and preprocess images here 10 X = np.random.rand(1000, 224, 224, 3) # 1000 images of 224x224 with 3 color channels 11 y = np.random.randint(0, 10, 1000) # 10 classes 12 return X, y 13# Load and preprocess data 14 X, y = load_image_data("data/images/") 15 X_train, X_test, y_train, y_test = train_test_split(X, y, test_size=0.2) 16# Train model 17 model = RandomForestClassifier(n_estimators=100) 18 model.fit(X_train.reshape(X_train.shape[0], -1), y_train) 19# Evaluate model 20 y_pred = model.predict(X_test.reshape(X_test.shape[0], -1)) 21 accuracy = accuracy_score(y_test, y_pred) 22 print(f"Model accuracy: {accuracy}") 23# Save model 24 joblib.dump(model, "model.joblib") 25# Save accuracy for DVC to track 26 with open("accuracy.json", "w") as f: 27 json.dump({"accuracy": accuracy}, f)This script defines our machine learning pipeline. It loads data, trains a model, evaluates it, and saves both the model and its accuracy. In a real scenario, you'd replace the data loading function with actual image processing code.
-
Create a DVC pipeline (
dvc.yaml):1stages: 2 train: 3 cmd: python train.py # Command to run for this stage 4 deps: 5 - data/images # Input data dependency 6 - train.py # Code file dependency 7 outs: 8 - model.joblib # Output model file 9 metrics: 10 - accuracy.json: # Output metric file 11 cache: falseThis YAML file defines a DVC pipeline. It specifies how to run your training script, what it depends on, and what it produces. DVC uses this information to determine when the pipeline needs to be re-run based on changes to the inputs, ensuring your outputs are always up-to-date.
-
Run the DVC pipeline:
1dvc reproThis command runs the pipeline defined in
dvc.yaml. DVC checks if any dependencies have changed and, if so, re-runs the affected stages. This ensures your outputs are always consistent with your inputs and code. -
Commit changes:
1git add .
2git commit -m "Add training pipeline"
This step versions your pipeline definition, training script, and the current state of your model (via the DVC metadata files). It captures the entire state of your ML project at this point, making it easy to reproduce or revert to this exact state later.
By following these steps, you've created a versioned, reproducible machine learning pipeline. You can now track changes to your data, code, and model performance over time, and easily revert to previous states if needed.
6. Advanced DVC Features
DVC offers advanced features for more complex workflows:
Data Pipelines
DVC pipelines allow you to define and run multi-stage data processing and model training workflows. This is particularly useful for more complex projects where you have multiple interdependent steps.
Here's an example dvc.yaml for a multi-stage pipeline:
1stages:
2  preprocess:
3    cmd: python preprocess.py  # Command to run the preprocessing script
4    deps:
5      - data/raw  # Input raw data
6    outs:
7      - data/processed  # Output processed data
8  train:
9      cmd: python train.py  # Command to run the training script
10      deps:
11        - data/processed  # Input processed data
12      outs:
13        - model.joblib  # Output trained model
14      metrics:
15        - accuracy.json:  # Output accuracy metric
16            cache: false
17  evaluate:
18      cmd: python evaluate.py  # Command to run the evaluation script
19      deps:
20        - model.joblib  # Input trained model
21        - data/test  # Input test data
22      metrics:
23        - evaluation.json:  # Output evaluation metrics
24            cache: false
This pipeline defines three stages: preprocessing, training, and evaluation. Each stage has its own dependencies and outputs, allowing DVC to determine which stages need to be re-run when something changes.
Metrics Tracking
DVC can track and compare metrics across experiments, which is crucial for monitoring your model's performance over time. To view metrics:
1dvc metrics show # Displays the current metrics
To compare metrics with a previous version:
1dvc metrics diff # Shows how metrics have changed since the last commit
These commands help you quickly assess how changes in your data or code have affected your model's performance.
Remote Storage
DVC can store your data in remote locations like S3, Google Cloud Storage, or SSH servers. This is essential for backing up your data and collaborating with team members. To add a remote storage:
1dvc remote add -d myremote s3://mybucket/dvcstore
2# -d sets this remote as the default
3# myremote is the name we're giving to this remote
4# s3://mybucket/dvcstore is the S3 bucket path
To push data to the remote:
1dvc push # Uploads tracked data to the remote storage
To pull data from the remote:
1dvc pull # Downloads tracked data from the remote storage
Using remote storage allows you to keep your Git repository light while still having full version control over your large datasets and models.
Experiment Management
DVC offers features to help manage and compare different experiments:
1dvc exp run --set-param train.epochs=10  # Run an experiment with a specific parameter
2dvc exp show  # Display a table of experiments and their metrics
3dvc exp apply <exp-id>  # Apply the changes from a specific experiment
These commands allow you to easily try different parameters, compare results, and apply the most promising changes to your project.
7. Best Practices
- Use meaningful stage names in your DVC pipeline.
- Keep your raw data separate from processed data.
- Use
.gitignoreto prevent large files from being added to Git. - Regularly push your data to remote storage for backup and collaboration.
- Use metrics to track and compare experiment results.
8. Conclusion
DVC brings the power of version control to your data and ML pipelines. By using DVC, you can:
- Track changes in your datasets
- Create reproducible workflows
- Collaborate more effectively with your team
- Manage experiments and compare results easily